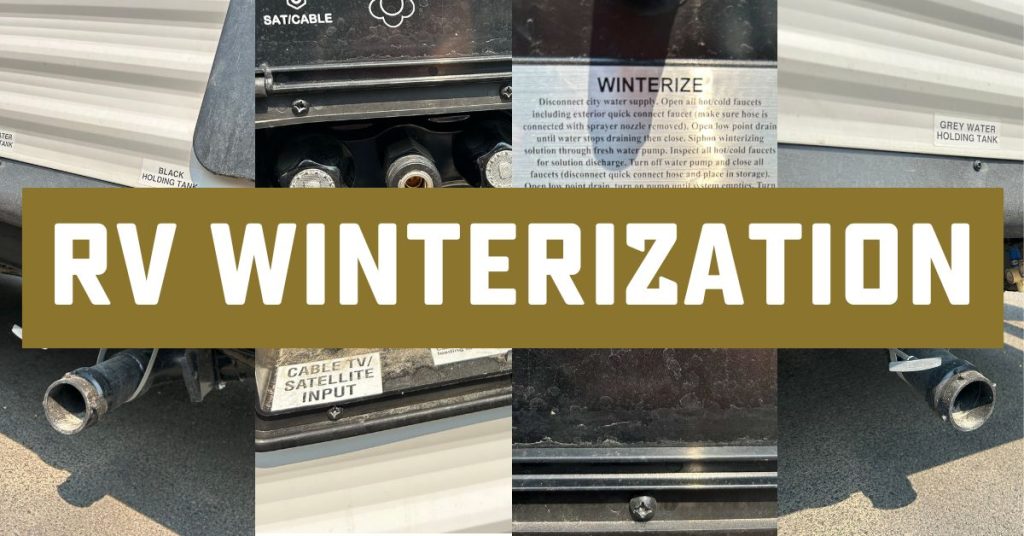
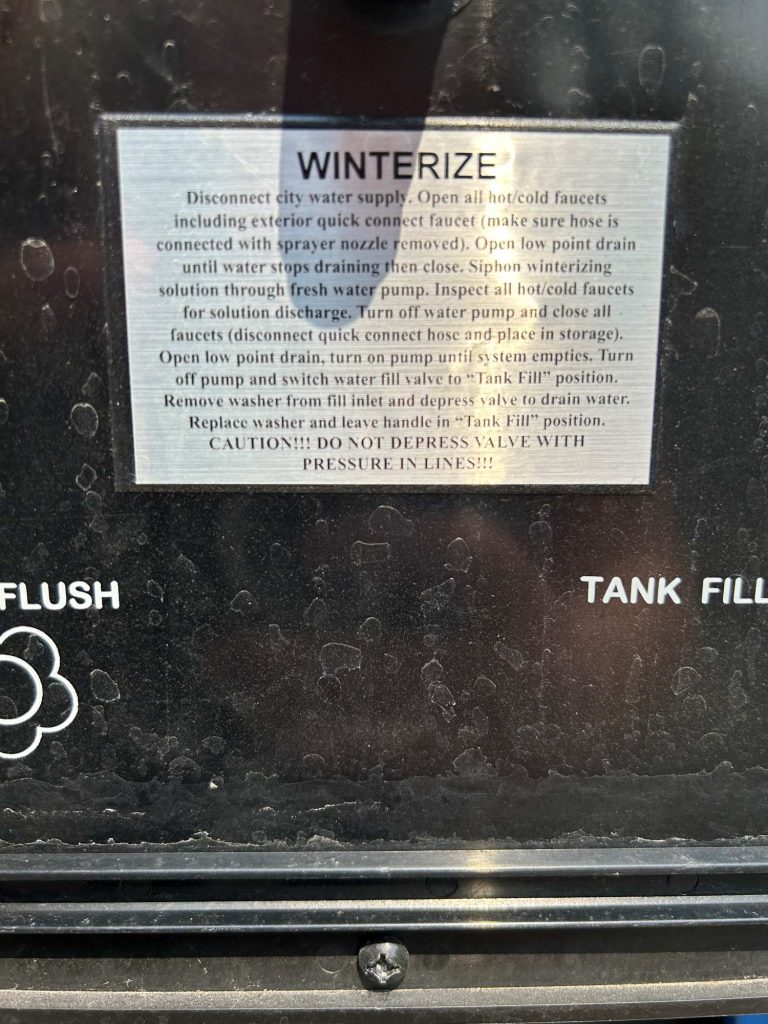
Winterization is crucial to the health of your RV. Leaving water in your RV in freezing temperatures can cause damage to the pipes and tanks that is expensive to repair. Follow this basic winterization guide to make sure you winterize your RV properly and avoid any damage this winter.
Learn How to Winterize Your Camper with a Certified RV technician!
Open and drain your black, grey, and fresh water tanks, including the fresh water low point drains.
If you are unsure how to drain any of these tanks, check out the sections on each of these tanks below.
- Locate the drain valve for your fresh water tank and open it.
- Locate and open the low point drain valves too.
- Turn on a few faucets in your RV, letting the water run out.
- Close the faucets and all draining valves.
It’s alright if a little bit of water is left at the bottom of the tank, so long as it is not in the pipes and not enough to expand the tank if frozen.
- Go to a dump station.
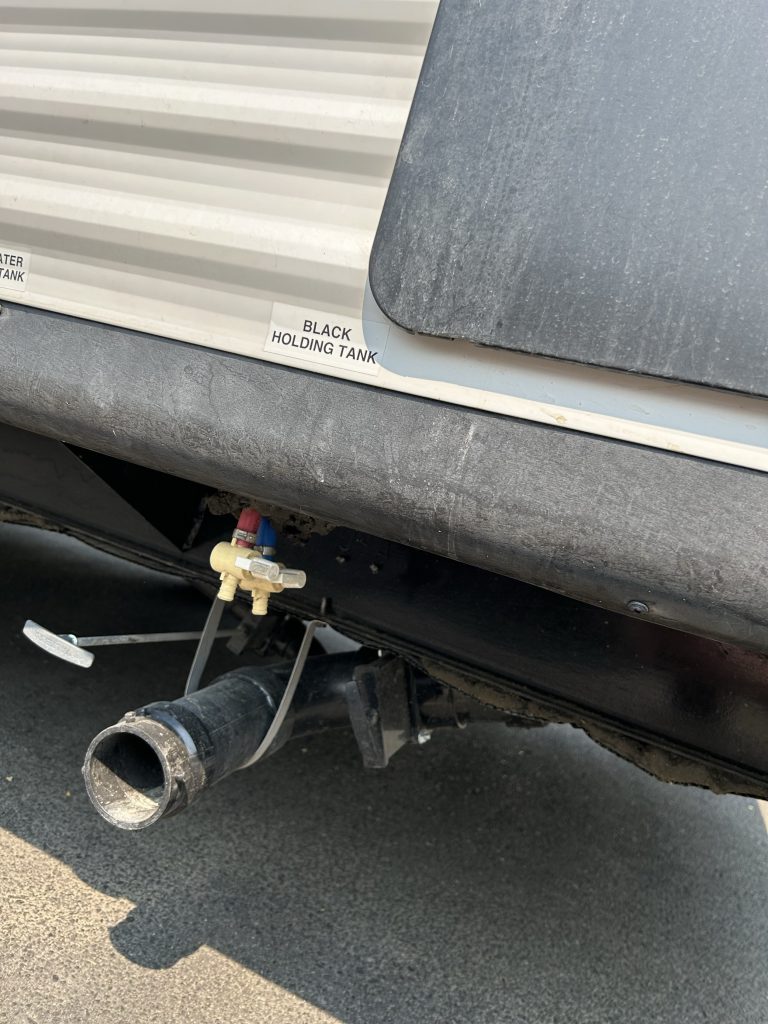
- Remove the holding tank outlet cap, and connect your sewer hose to the outlet.
- Bring the sewer hose to the dump station opening, and place it in. You can use a rock or a brick to hold the hose in place.
- Pull the black water valve, which releases the contents of the tank.
- Wait for the stream to slow and stop. Not waiting for the stream to slow and stop is the best way to have a very unfortunate time draining your tank.
- Flush the black water tank by running a hose through the trailer, open the toilet, and run hose water into the tank while the black tank valve is open. Once complete, close the black water valve.
Typically you would need to flush the toilet a few times to add water to the black water tank after finishing draining the grey water tank, but since you’re winterizing, that’s unnecessary.
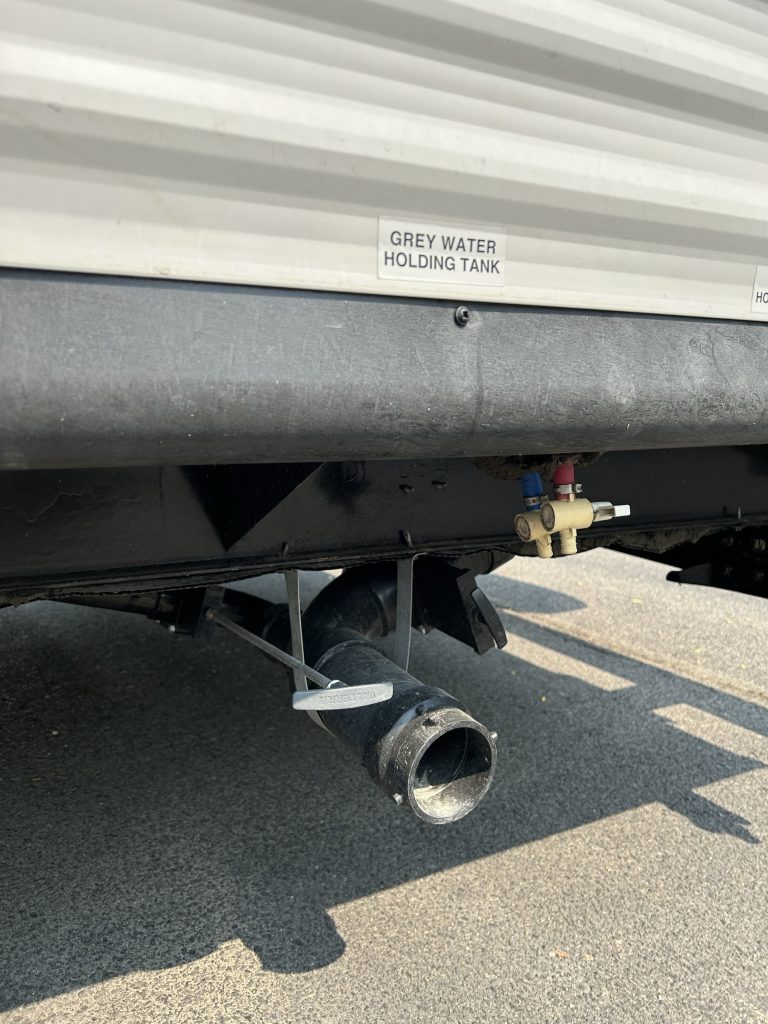
The grey water tank is usually flushed out of the same pipe as the black water tank, so you shouldn’t have to disconnect or move the sewage hose at all (unless you have multiple grey tanks located at different areas of your RV).
- Pull the grey water valve and wait for the stream to stop. By emptying the grey water tank last, you help to clean out the sewage hose.
- Close the grey water valve and disconnect the hose. Replace the cap.
- Raise the disconnected hose to drain and use the dump site’s water to clean the hose and the rest of the station you’ve been using.
- Put the hose back in place.
Next, you’ll need to drain your water heater.
- Verify that your water heater is off.
- Open the temperature and pressure valve to release some of the pressure, and then close the valve again.
- Remove hot water plug, and then open the temperature and pressure valve again; water should be draining out.
- Open the hot and cold faucets to help with draining.
- Next, locate your bypass value to your hot water heater and shut it off.
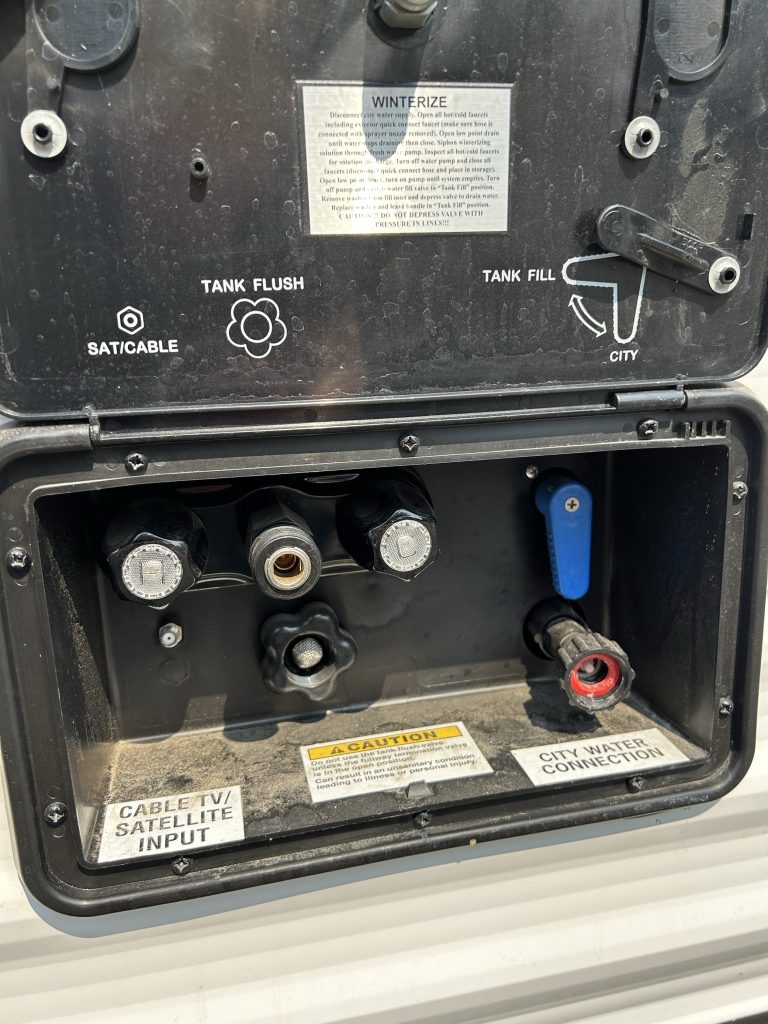
After you’ve drained your hot water heater, you’ll want to drain your city water connection. Using air pressure is the simplest way to drain it properly.
- Open up your city water connection.
- Hook an air pressure regulator up to the connection.
- Turn on all of the faucets in your RV.
- Hook up the air compressor hose to your air pressure regulator.
- Turn it on, and make sure that there’s 60psi flowing through the regulator. Any more can damage your RV and less is not as effective.
- Run the air until the faucets are running clear.
After you’ve drained all of the water from your RV, you’re going to add the antifreeze.
- Find your water pump. It’s typically located under the sink. Newer units usually have a hose built-in or included, but if you have an older unit, you’ll need to get a short hose and a hose adapter.
- Hook the hose up to the water pump.
- Put the other end of the hose in your antifreeze jug.
- Turn on the water pump.
- Turn on the faucets one at a time until they run the color of your antifreeze. Don’t forget to turn on your shower head, tub faucet, toilet, and outside shower head.
- Make sure to add a cup of antifreeze to each p-trap.
DO NOT add antifreeze to your fresh water tank. Just be sure that most of the water has been removed from the tank.
Don’t forget to take care of your batteries. Do not let your deep cycle batteries go dead. It will weaken the batteries and it could be harder to recharge.
- Unhook the batteries and store them in a safe, dry place. If not, they will drain during the winter.
- Keep them off of concrete (it will drain your batteries).
- Put them on a trickle charge, on-and-off, during the unused storage months.
Winterizing Your RV at Bish’s
So now you know the basic steps to winterize your RV.
If you have a residential refrigerator, icemaker, dishwasher, washer/dryer, Aqua Hot water heater, or an Oasis water heater, please reach out to a professional, refer to your owner’s manual, or schedule an appointment to get your RV winterization done.

Free Winterizations for Life? Yes Please!
If you’ve purchased an RV through Bish’s RV, you never have to worry about winterizing on your own; we’ll winterize your RV for free every year.
Each Bish’s location offers two free winterization weekends each year where you can get your RV winterized.
Specific information on the time and dates of these weekends are announced by August each year. For more information on this, visit bishs.com/winterization or contact our service department.

Learn More About RVs
- 6 Nasty Surprises If You Don’t Get Your RV Ready for Spring
- Five RV Tech Upgrades to Improve Your Camping Trips

- The RV Show Buyer’s Guide: How to Find a Trustworthy RV Dealer

- Used RV Prices Aren’t Crashing—Here’s What’s Really Happening

- RV Trade-In Secrets: How to Get the Best Deal on Your Upgrade


Greg Long
Bish’s RV Content Manager
Amateur adventurer; professional dreamer.
aka: The Bish-Blog-Guy